
Set up Socks5 proxy with Dante
Open a terminal in your Ubuntu system and follow the below steps to set up Socks5 proxy with Dante:
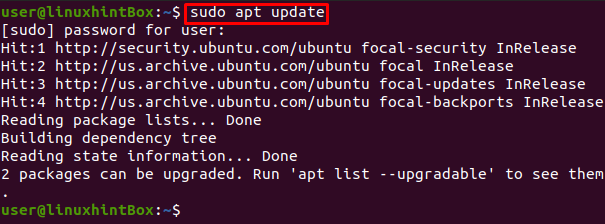
Step 1: Updating Cache Repository
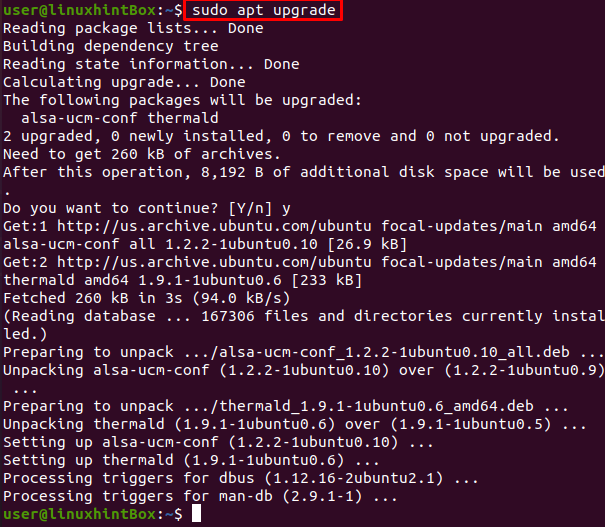
The first step towards setting up a Socks5 proxy on Ubuntu with Dante is to update the cache repository packages for which we will use the below command:
If all the packages are up to date then you don’t need to upgrade however if they are not then run the below-mentioned command to upgrade the packages:
Step 2: Installing Dante
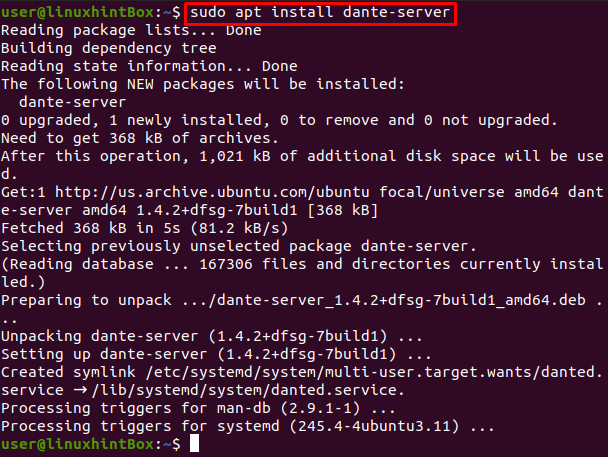
The default Ubuntu package repositories have Dante server package so we will install Dante by using the below command in our Ubuntu 20.04 terminal:
Step 3: Verifying installation
To verify the installation of Dante we will execute the below command:

Step 4: Configuring Dante
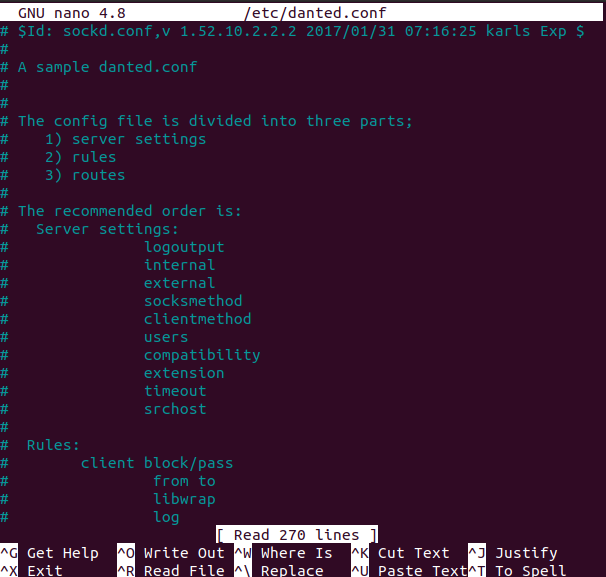
Now that we are done with installing Dante let us now configure it by first opening the danted.conf file in the nano editor for which we have to execute the below command in our Ubuntu terminal:
When you execute the above command you will see something like the below:
Remove the settings set in the above file and paste the lines mentioned below in the file:
external: eth0
socksmethod: username
user.unprivileged: nobody
user.privileged: root
client pass {
from: 0.0.0.0/0 to: 0.0.0.0/0
log: error
}
socks pass {
from: 0.0.0.0/0 to: 0.0.0.0/0
command: connect
log: error
socksmethod: username
}
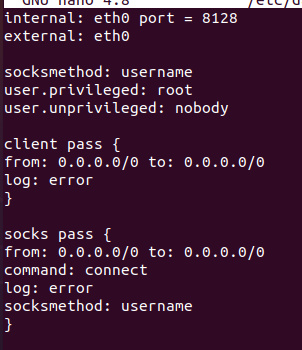
This config will let us establish a Socks proxy which will run on port 8128 as set in the above file and will require authentication. To save the above-edited file, press CTRL+S and then CTRL+X to exit.
Step 5: Starting Danted proxy
This step involves starting danted proxy which will be achieved with the following command:
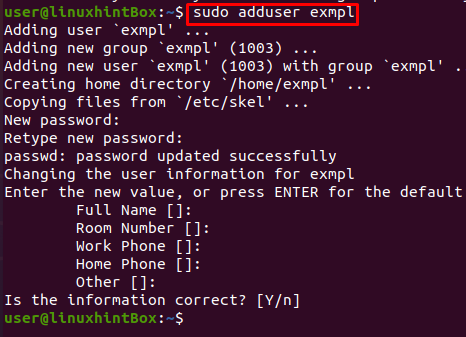
Step 6: Creating a user
We have successfully installed and configured Dante so let us continue to the next step where we will create a user which is an optional step but can secure access from everyone. To authenticate connecting clients Dante uses the system Unix user accounts hence we will create a new user. However, keep in mind that the password will be sent in plain text using the network when some client will request connecting to this proxy server.
Conclusion
Dante consists of a Socks5 server and is used as a proxy server. You can set up a Linux server online and then use it as a proxy server for accessing other websites. These proxy servers come very handy when we need to change our IP Address or access some website from a different geo-location.
In this article, we explained and delivered every step on how to set up a Socks5 proxy on Ubuntu with Dante.